Now that we’ve gotten some background and best practices behind us, now it’s time to start the actual software installation. As previously mentioned, in all but the smallest environments it’s recommended to have a dedicated Platform Services Controller (PSC), rather than an embedded one. So first up here will be provisioning a new Windows Server 2012 R2 VM which will be dedicated to the PSC role. No other vCenter roles or services will be installed on here. Then further along in this series we will provision a second VM, which will run all of the vCenter services. So let’s roll up our sleeves and get started with installing the PSC.
Blog Series
vSphere 6.0 Install Pt. 1: Introduction
vSphere 6.0 Install Pt. 2: Platform Services Controller
vSphere 6.0 Install Pt. 3: Certificate Management
vSphere 6.0 Install Pt. 4: vCenter Upgrade Best Practices
vSphere 6.0 Install Pt. 5: ESXi Upgrade Best Practices
vSphere 6.0 Install Pt. 6: Install Windows PSC
vSphere 6.0 Install Pt. 7: Config SQL DBs
vSphere 6.0 Install Pt. 8: Toolkit Configuration
vSphere 6.0 Install Pt. 9: SSL Templates
vSphere 6.0 Install Pt. 10: Install VCSA PSC
vSphere 6.0 Install Pt. 11: VMCA as Subordinate
vSphere 6.0 Install Pt. 12: PSC Machine Certificate
vSphere 6.0 Install Pt. 13: Directory Services Certificate
vSphere 6.0 Install Pt. 14: Windows vCenter Install
Permalink to this series: vexpert.me/Derek60
Permalink to my Toolkit script: vexpert.me/toolkit60
Platform Services Controller (PSC) Installation
1. From your favorite template provision a new Windows VM. It needs at least 2 vCPUs and I’d give it 4-6GB of RAM. I would recommend Windows Server 2012 R2. Join it to the domain, and patch it. No need to install Flash, as the PSC has no web or Flash based interface. The PSC install is also very small, so I wouldn’t even attach a second drive. Just install it to the C drive.
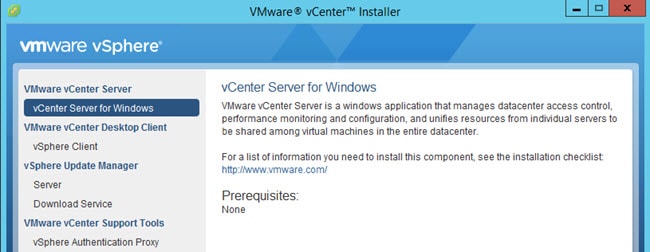
2. Mount the vCenter 6.0 ISO and start the Autorun. Click on vCenter Server for Windows then click on Install.
2. Click Next on the build screen.

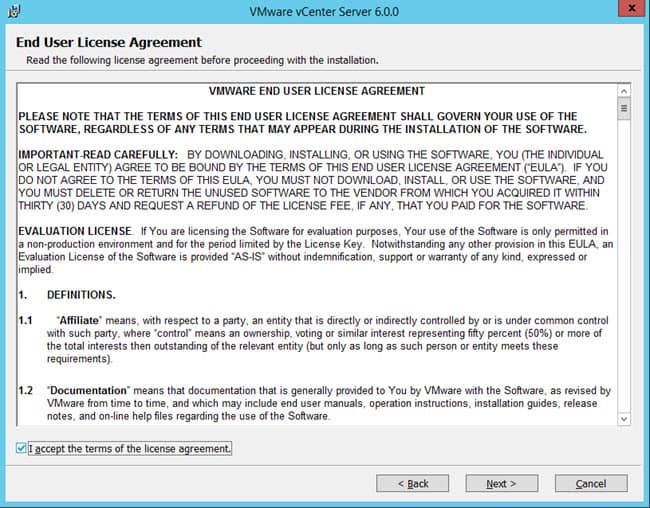
3. Accept the license agreement.
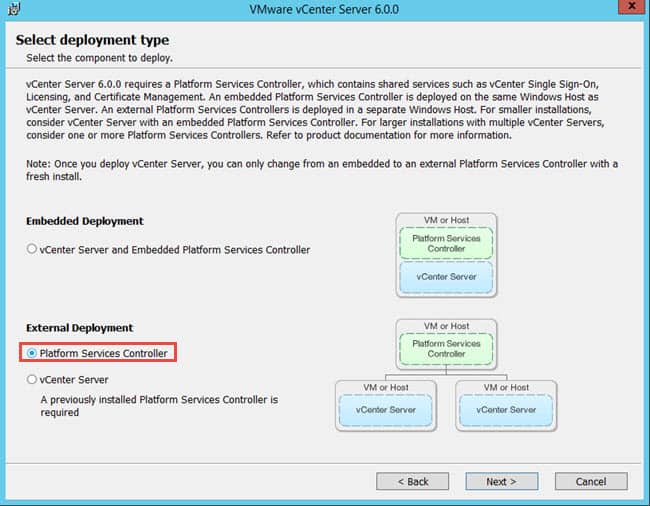
4. On the Select Deployment Type screen, choose Platform Services Controller. Click Next.
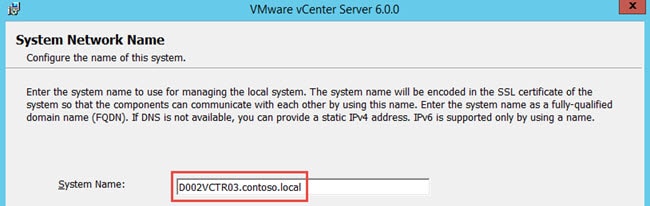
5. At this point the installer should auto-populate the system name with the FQDN of the VM you are installing the PSC on. Accept this value and click Next. As soon as you click next you may get a IPv6 warning. Ignore this warning if you aren’t using IPv6 (and who is?).
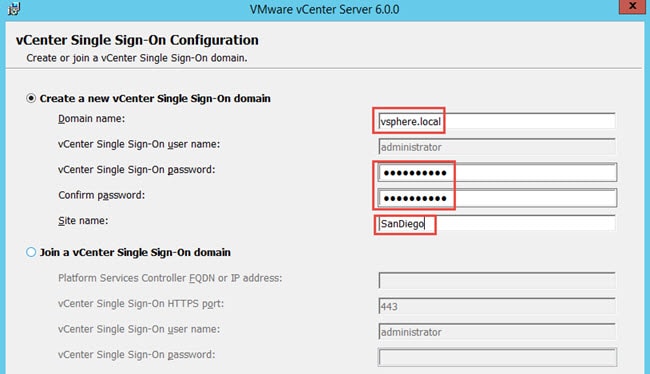
6. This is the most important configuration screen. First up, now in vSphere 6.0 you can change the SSO domain. Per VMware do *NOT* make this the same domain as your Active Directory. This will create a show-stopper problem. You CAN, however, use a subdomain of your corporate domain. For example, sso.contoso.local. Personally, I would keep it simple and stick with the default.
Now you will need to configure a password for the [email protected] account. This password needs to be at least 8 characters, one lower case character, one numeric character and one special character. And the length must NOT exceed 20 characters. Only use visible ASCII characters, meaning you can’t use a space. You are also not allowed to use the single quote (‘) either. Other special characters may cause problems (remembering the SSO 5.1 and 5.5 days) so be sure to test out your “complex” passwords.
Finally, you can change the site name. I would recommend you do change the name, and have it reference your physical location. While it appears that information is not currently used by vSphere, VMware hinted down the road the ‘site’ name may play a more important role.
If you have a current vSphere deployment that is using SSO, you can join that domain here. In my case I’m doing a fresh install, so I created a new domain.
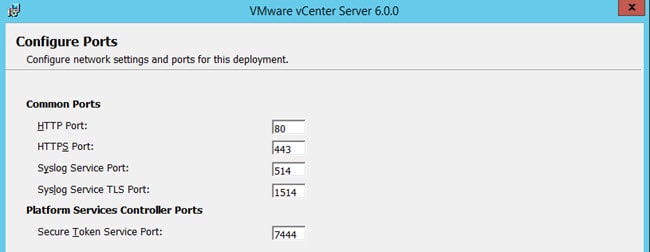
7. On the Configure Ports screen I would leave these all at their default values.
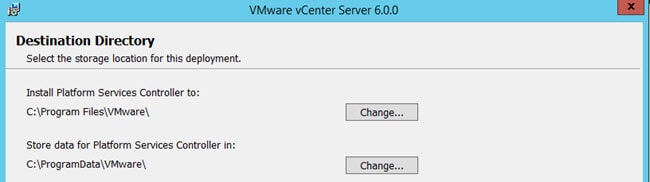
8. Here you can change the installation directory if you wish. The install is so small that I don’t see the need to install on a D drive, for example.
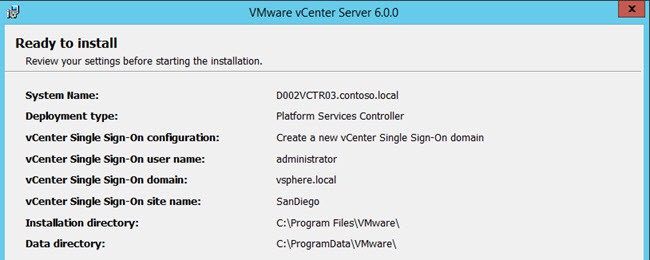
9. On the final screen it shows a summary of the options you’ve selected. Verify everything is OK and click Install. Wait a few minutes for the installation to complete.
Summary
As you can see, the PSC installer is very straight forward. Unlike SSO in vSphere 5.1 that needed an external database, the PSC is fully self-contained. Nice! Now that we have the PSC up and running, it is time to install the Windows vCenter server.


