Welcome to Part 3 of installing and configuring CloudVolumes. In Part 1 I provided a short introduction on what CloudVolumes is and started the management console installation process. In Part 2 I configured basic settings such as Active Directory, vCenter, and datastores. Now we are ready to install the CloudVolumes agent and build a CloudVolumes AppStack of Office 2013 and a few other applications.
I mounted the CloudVolumes ISO image and started the agent installation on my AppStack packaging Windows 7 x64 VM. The only two questions I had to answer was the CloudVolumes Manager address and the port. There wasn’t a button to validate the agent could talk to the manager (hint, feature request). After the agent installed I had to reboot the VM. As we will later find out, due to a network configuration error on my part the agent was unable to contact the manager, hence the need for a ‘validation’ button of some sort.

Creating a CloudVolumes AppStack
Here comes the exciting part! We now have a VM which we can install our applications and start building up AppStacks. The following two warnings are included in their admin guide:
Important: The provisioning of AppStacks must be performed on a clean base image; that being a VM that resembles as closely as possible the target environment to which you later plan to deploy the AppStack. For example, the provisioning VM and target should be at the same patch and Service Pack level and, if applications are included in the base image, they should also be in the provisioning VM.
Provisioning should be done on a VM that did not have any AppStacks previously assigned to it. If there were any AppStacks assigned to the VM, that VM should be rebooted before provisioning a new AppStack.
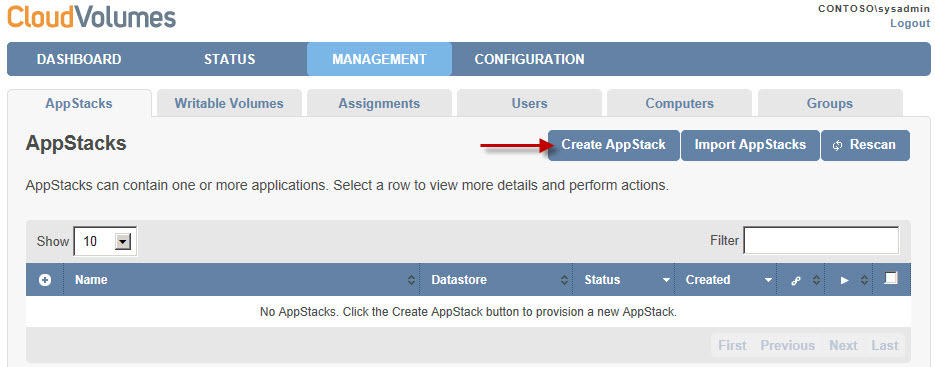
Back in the management console I clicked on Create AppStack.
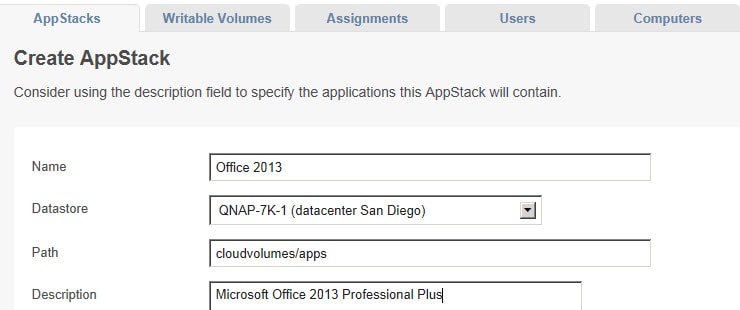
The console had been sitting idle for an hour, and as soon as I clicked on the button I saw two red warnings for a split second and it booted me out to the login screen. I thought oh crap, a bug. I logged in again and this time the wizard came up so clearly it was just a timeout issue and the warning needs a little tweaking. I decided to go for broke, and try Office 2013 Professional Plus as my first AppStack.
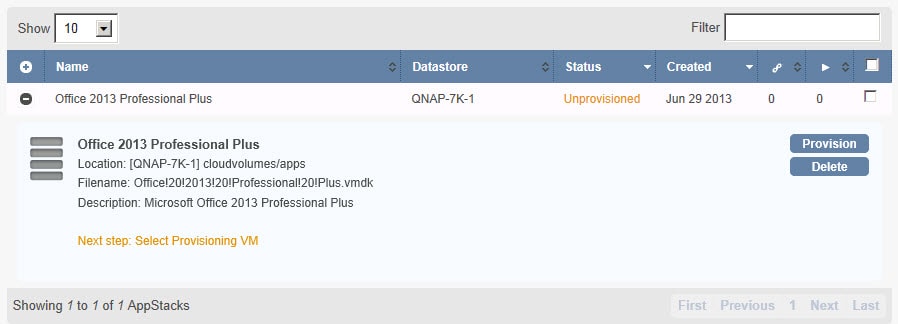
After the wizard completed I now saw an unprovisioned AppStack. I do have one grip about this screen. In the VMDK filename it puts exclamation points in for spaces, which I think is a bit odd. It would make it a lot more readable to use an underscore or hyphen, IMHO. VMFS can support spaces, so not sure why they need to substitute characters.
Clicking on Provision brought up a screen where it should list all computers that have the CloudVolumes stack installed. This list was empty. Since my name resolution in my home lab is a bit unique, I figured it was a DNS problem. I fixed that problem, but the VM still wasn’t registering with the manager. I looked on the Win7 VM logs and could find no CloudVolumes error messages. I tried to telnet to port 3000 and that worked, so I knew it wasn’t a firewall problem.
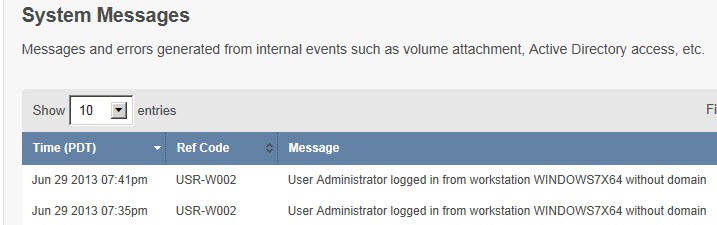
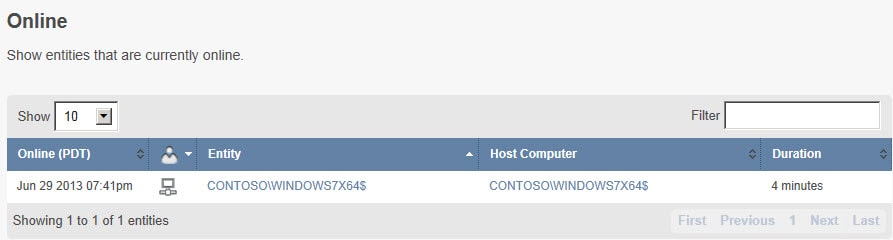
After poking around in the console a bit I found the System Messages tab. Apparently, the provisioning VM needs to be joined to the domain. Probably makes sense, but I wasn’t sure if the VM should be as pristine as possible. It would be most helpful if during the agent installation it provided a warning, and also logged error messages in the application log on the Win7 machine about not being domain joined. After I joined the computer it immediately appeared in the CloudVolumes console.
Success!
I re-ran the AppStack provisioning wizard and came to the screen below. I clicked on the computer name (without clicking the radio button) and it immediately changed to the computers tab. That threw me for a loop, until I figured out I had to click on the radio button to actually provision the application. Minor usability issue.
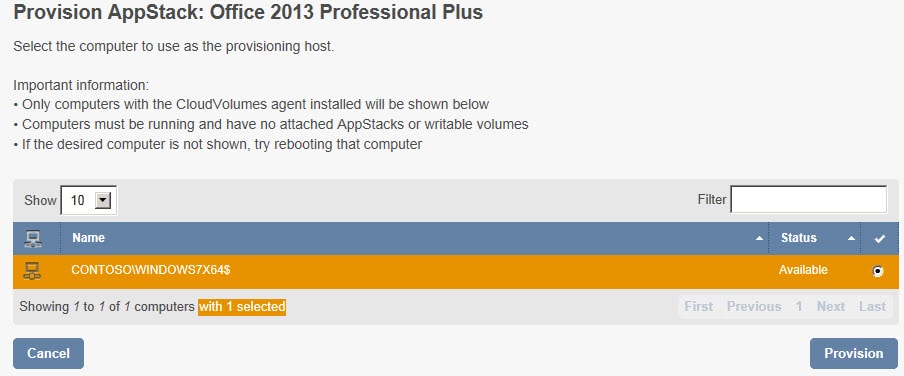
Click the radio button then click Provision to get:
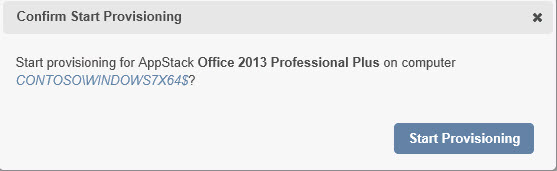
In the Windows 7 provisioning VM I got this pop-up:
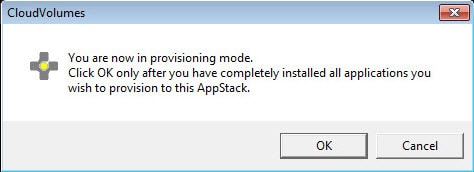
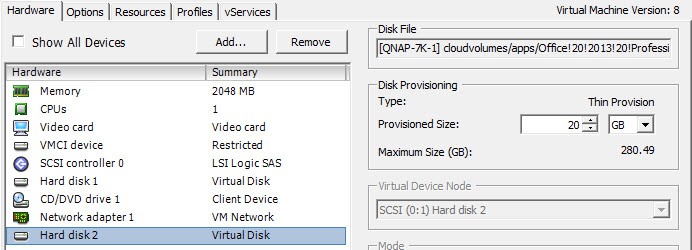
So I then mounted the Office 2013 Professional Plus ISO, and ran through the whole install. I also ran Windows update to get it fully patched. While that was running for a while I decided to look at the Win7 VM properties. As you can see CloudVolumes mounted a second VMDK to the VM, which is where all of the application bits are being written.
During the AppStack capture process I had an “Oh crap” moment. I forgot to take a snapshot of the VM prior to doing the Office 2013 capture. I checked the snapshot history, and no snapshots were present. So I thought to myself I’ll have to rebuild my VM for the next AppStack. Because of what I thought was a mistake on my part I also decided to bundle in Flash Player, Acrobat Reader and Java in this AppStack. I was very curious how browser plug-ins worked, if at all, with CloudVolumes.
After Office 2013 installed I ran Windows update so that it was fully patched. The VM rebooted, and the CloudVolumes agent reminder that I was in provisioning mode was still on the screen. Next up was Flash Player 11, Adobe Reader 11, and Java 7 update 25. After those programs were done installing I clicked on the OK button to end provisioning. The VM rebooted, and after I logged in I got this successful message:

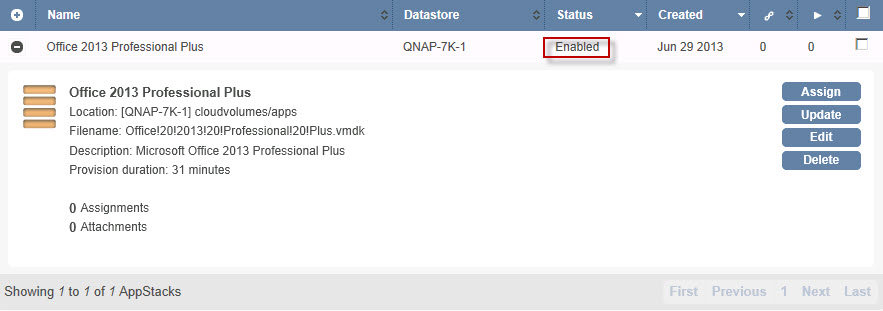
To my delight I saw that the VM was returned to the pre-AppStack creation state! No Office, no Flash player, no Adobe Reader, no Java. I thought sweet….I didn’t screw up after all! Pretty neat. Back in the Manager console I see the Status is now Enabled, and it even shows how long I took to provision the AppStack.
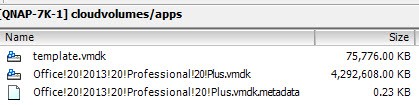
I wondered what the CloudVolumes datastore looked like and how big the VMDK was, so I browsed to the datastore and found a 4.2GB VMDK.
Now all I needed to do was install the agent into my “production” Windows 7 x64 VM, assign the AppStack, and see if the magic worked! Check out Part 4 to see how to assign an AppStack and see if this really works….or not.


Hey Derek,
Since this document has been posted VMware purchased CloudVolumes and renamed it to AppVolumes. In the most recent user guide that VMware released, it states: The operating system include base service packs, such as Windows 7 SP1, and should not have hot-fixes applied to it.
This is kind of puzzling, if you ask me, I would assume the snippet about having a template at the same patch level would make more sense. Let me know your thoughts. I am going to attempt creating an AppStack both ways and relay my results.
Thanks,
Len