A few days ago I blogged about injecting VMware vSphere drivers into a Windows Server 2012 image, so you can seamlessly install WS2012 inside a VM with PVSCSI and VMXNET hardware. Next up is injecting Cisco UCS drivers into Windows Server 2012, in case you need to install Windows Server 2012 on a physical Cisco UCS blade. The process is the same as injecting the VMware drivers, but requires a little more effort to gather up all the right drivers.
Noteworthy is that you really need to do this on a Windows 8 or Windows Server 2012 computer/VM, and use the Windows 8 ADK. The DISM software for Windows Server 2008 R2 doesn’t understand the SHA256 digital signatures on some of the drivers and will barf unless you use an override switch.
1. Download the Cisco UCS Drivers disc v2.0.4 or later, which contain the Windows Server 2012 drivers. You can download the 2.0.4a (Oct 26, 2012) version here. Note: Cisco TAC account is required to download the software.
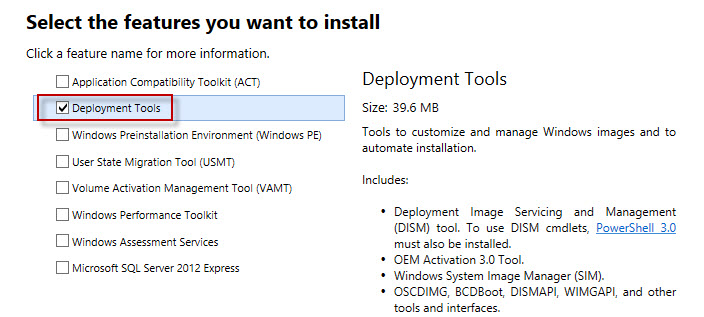
2. Find a Windows 8 or Windows Server 2012 VM that you can use to copy the drivers to and install the Microsoft ADK on. WS2012 comes with many drivers built in, so the only Cisco drivers we need are Network and Storage. All LSI drivers are built-in to WS2012, so you don’t have to worry about the built-in local storage controller on the server. For the Cisco UCS drivers, I created a folder called D:Boot Drivers64-bit.
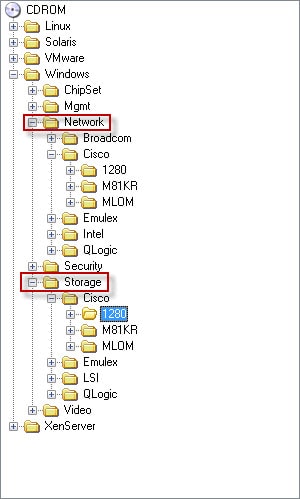
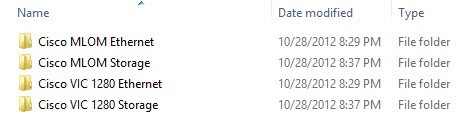
3. Now that you have a folder to put the WS2012 drivers, you need to drill down into the Cisco driver ISO image and pull out the “W2K12” folders. In my case I only wanted the 1280 and MLOM drivers. Remember Cisco adapters are converged network adapters, so you need both the storage and network folders.

::
dism /Mount-Wim /WimFile:D:boot.wim /Index:2 /MountDir:D:mount
dism /image:D:mount /Add-Driver “/driver:d:boot drivers64-Bit” /recurse
dism /unmount-wim /mountdir:d:mount /commit
::
dism /Mount-Wim /WimFile:D:install.wim /Index:1 /MountDir:D:mount
dism /image:D:mount /Add-Driver “/driver:d:boot drivers64-Bit” /recurse
dism /unmount-wim /mountdir:d:mount /commit
dism /image:D:mount /Add-Driver “/driver:d:boot drivers64-Bit” /recurse
dism /unmount-wim /mountdir:d:mount /commit
dism /image:D:mount /Add-Driver “/driver:d:boot drivers64-Bit” /recurse
dism /unmount-wim /mountdir:d:mount /commit
dism /image:D:mount /Add-Driver “/driver:d:boot drivers64-Bit” /recurse
dism /unmount-wim /mountdir:d:mount /commit