A few years ago I wrote a blog post detailing an unattended SQL 2012 installation process. That article needs a bit of updating, so I’m creating a fresh post. I will also follow up on this post with SQL 2014 and SQL 2016. This time around I’m using Windows Server 2012 R2, and giving you direct download links to my example files. Customers were telling me that cut/paste from the blog resulted in strange quotes in some languages, which had to be replaced with regular quotes. This unattended script will install a basic SQL 2012 server. If you wish to install additional components, then you can modify the .ini file. Before you rush through the installation, you will need to modify the .ini file which you download. At the minimum, change the paths to your desired locations. In my script I’ve used multiple drives:
C: OS
D: SQL Binaries
K: SQL Databases
L: SQL Logs
T: TempDB
Z: CD-ROM
So let’s get started on getting SQL 2012 installed via an unattended script. First, SQL 2012 requires .NetFramework 3.5. Unfortunately, in the basic Windows Server 2012 R2 install, this is an optional feature that is not installed. Frankly I think the easiest way is via the GUI, although you can use PowerShell as well.
- Open the Add Roles and Features wizard.
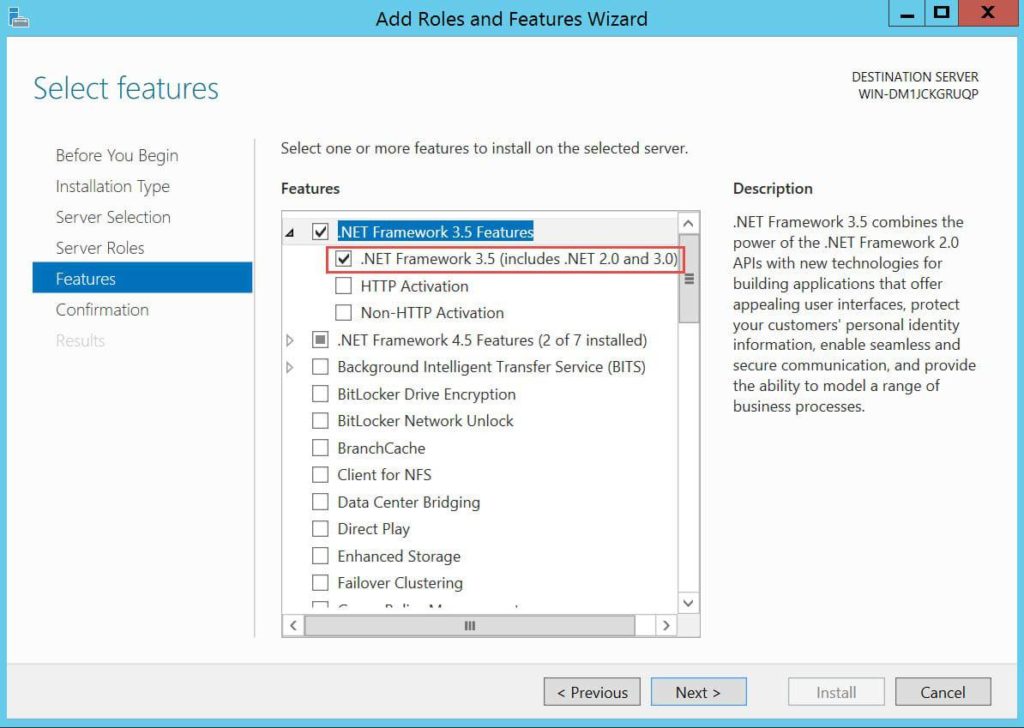
- Click through the wizard until you get to the Features section.
- Expand .Net Framework 3.5 Features and tick the box next to .NET Framework 3.5.
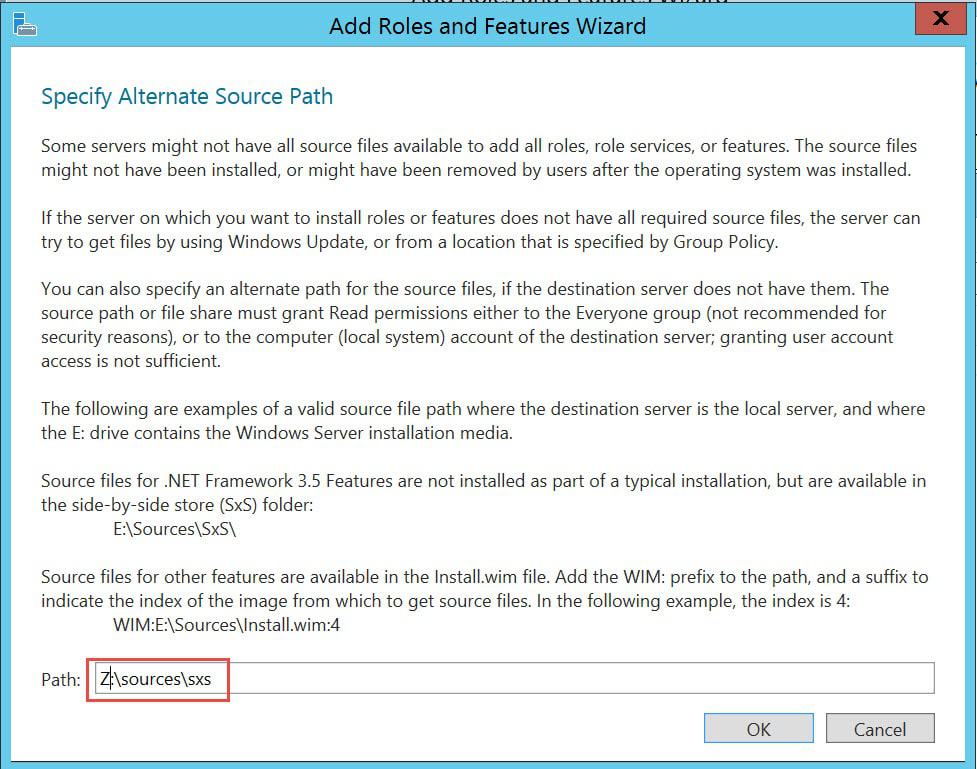
- Click Next, then enter the path to the .Net Framework 3.5 binaries. At this point, mount your Windows Server 2012 R2 ISO to the VM, then use the path CD-Drive:\sources\sxs

- Wait for the installation to complete, and just to be safe, reboot the VM.

At this point .Net Framework 3.5 is installed, and I’m assuming you have your various drives mounted, formatted, and ready to go. Next, download the two files below and save them to the root of your D drive.
SQL-2012-base.ini
SQL-2012-base.cmd
Open the SQL-2012-base.ini file with your favorite editor and modify all of the paths. They are sprinkled throughout the file, so be sure to check every line. Save the ini. If your CD-ROM is not using the Z: drive, open the SQL-2012-base.cmd file and change the path as needed. If you aren’t using a D drive and have these scripts elsewhere, change the path to the ini file.
6. Open a command prompt and run the SQL-2012-base.cmd file with an argument of the group which you want to be added to the SQL studio to administer the instance. Use the format domain\group. If you just want a local group, you can use MachineName\Group. 
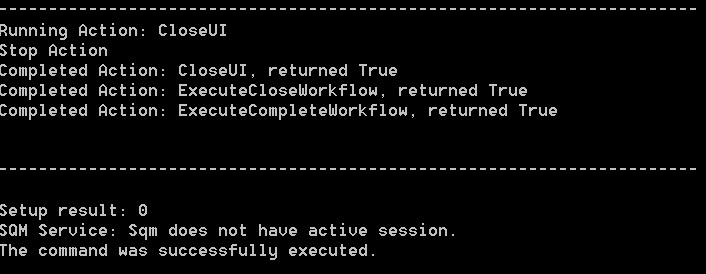
![]() 7. Sit back and relax, and give it 10 minutes or more. You will see the SQL installer GUI flash through various screens in an automated fashion. If the install was successful, at the end you should see:
7. Sit back and relax, and give it 10 minutes or more. You will see the SQL installer GUI flash through various screens in an automated fashion. If the install was successful, at the end you should see:
And there you go! If you are installing multiple SQL servers using the same configuration, I highly recommend the unattended method.


Sorry but the link SQL-2012-base.ini does not find the file
Hi
The links point to a Dropbox share that is not available anymore.